
Introduction
So, you’ve decided to rock a burst fade? Excellent choice! The burst fade is one of the trendiest haircuts out there—it’s clean, modern, and versatile. But here’s the thing: the secret to a flawless burst fade lies in using the right fade guards. Without them, you’ll end up with uneven transitions or harsh lines that ruin the whole look.
Let’s break down everything you need to know about fade guards for a burst fade—from the numbers to the techniques that give you that seamless gradient.
What Is a Burst Fade?
A burst fade is a stylish haircut where the fade “bursts” around the ear, creating a circular transition from short to long hair. Unlike a regular fade that goes straight up, this one curves—giving your hairstyle a bold and dynamic edge. It’s a favorite for mohawks, curly tops, and textured cuts.
Why the Right Fade Guard Matters
Think of fade guards like paintbrushes for your clippers. Each guard defines how much hair gets trimmed, helping you achieve a smooth gradient. Using the wrong one can make the fade look choppy or uneven. So, yes—the right guard can make or break your fade!
Understanding Fade Guards
What Are Clipper Guards?
Clipper guards are plastic or metal attachments that control the length of hair left behind. Each guard corresponds to a specific cutting length, usually measured in millimeters or inches.
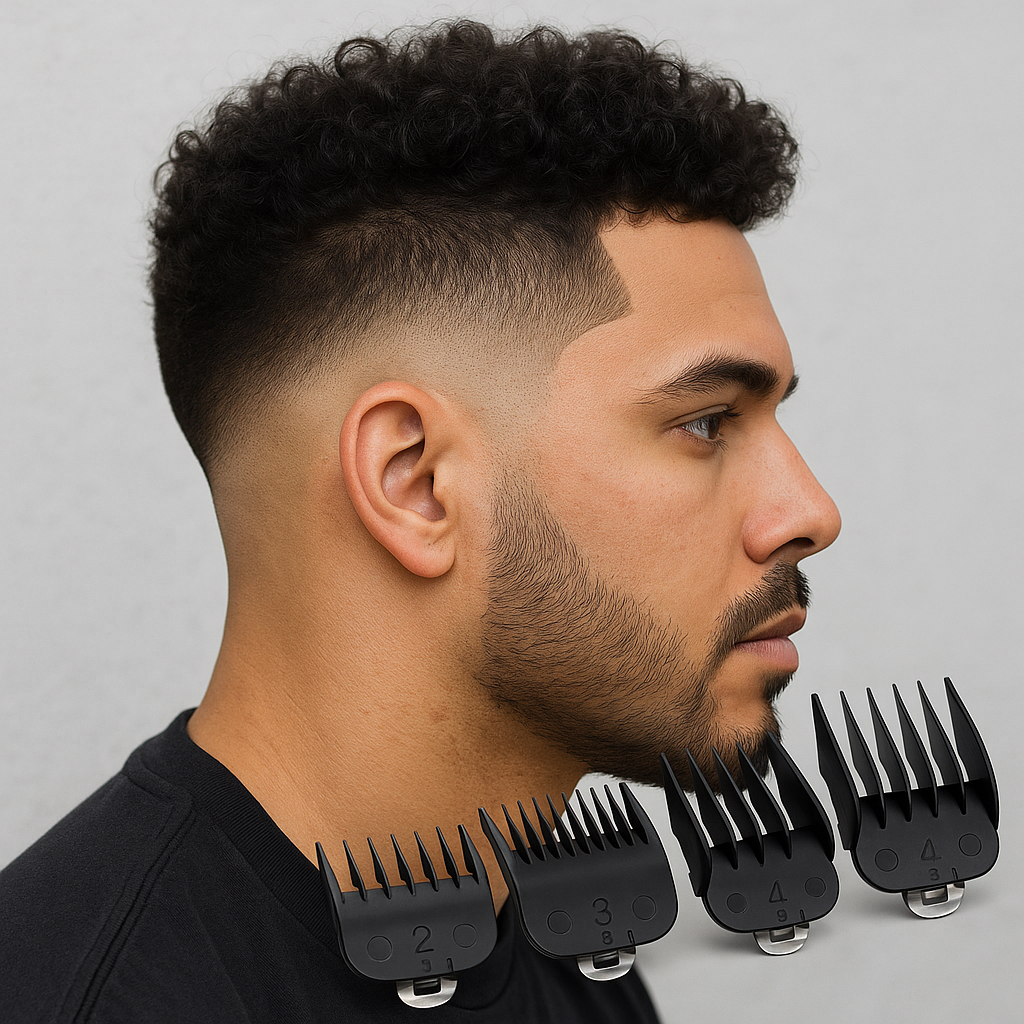
The Number System Explained (From #0 to #8)
Here’s a quick guide:
-
#0 (1/16”) – Almost bald
-
#1 (1/8”) – Very short
-
#2 (1/4”) – Slightly longer
-
#3 (3/8”) – Noticeable length
-
#4 (1/2”) – Medium short
-
#5–#8 – For longer, blended styles
How Guards Affect the Fade Length
Guards help create a gradual blend from skin to longer hair. The lower guard numbers are used near the neckline and ears, while higher guards help transition smoothly up the head.
What Makes a Burst Fade Unique
Key Features of the Burst Fade
-
Circular fade around the ear
-
Emphasizes the neckline and sides
-
Often paired with mohawks or textured tops
Differences Between Burst Fade and Other Fades
Unlike the taper fade (which focuses on sideburns and neck), the burst fade wraps around the ear. It’s also less uniform than a low fade, giving a more natural burst effect.
Why It’s Popular Among Men Today
It’s versatile! Whether you have straight, curly, or wavy hair, a burst fade adds character without being too dramatic.
Best Fade Guards for a Burst Fade
Recommended Guard Sizes for Each Section
Lower Burst Section
Start with a #0 or #1 guard to clean up around the ear. This creates that crisp burst shape.
Mid Transition Area
Use #2 or #3 guards to fade upwards gradually. Move in small circular motions to blend smoothly.
Top Blend Area
Finish with #4 or #5 guards near the top to merge the fade into your desired hairstyle.
The Ideal Guard Setup for Beginners
If you’re new, stick to #1, #2, #3, and #4 guards. These are forgiving and help you avoid harsh lines.
Step-by-Step Guide to Creating a Burst Fade
Step 1 – Preparing Your Tools
You’ll need clippers, guards, a comb, a mirror, and good lighting. Always start with clean, dry hair.
Step 2 – Setting the Base Line
Outline your burst area around the ear with your trimmer. This line determines your fade’s shape.
Step 3 – Fading with Guard Progression
Start from the bottom using #0, then move up gradually with #1, #2, and #3. Overlap each level slightly to blend.
Step 4 – Detailing and Blending
Switch between guards and use your lever to fine-tune the fade. A flicking motion helps erase hard lines.
Step 5 – Final Touches
Use a detailer for sharp edges and a brush to remove hair clippings. You can also apply a fade-enhancing spray for definition.
Common Mistakes When Using Fade Guards
Skipping Guard Levels
Jumping from #1 to #4 will cause harsh lines. Always progress gradually.
Using Dull Blades
Dull clippers pull hair instead of cutting cleanly—leading to uneven fades.
Poor Blending Techniques
The key is overlapping passes and flicking outward. Patience pays off!
Tools You’ll Need for a Perfect Burst Fade
Clippers and Trimmers
A good-quality clipper with adjustable levers is essential. Brands like Wahl, Andis, and Babyliss are top choices.
Combs and Brushes
They help separate hair and maintain even blending.
Finishing Products
Pomades, gels, or matte clays can enhance your final look.
Burst Fade Variations You Can Try
Burst Fade Mohawk
Edgy and modern—ideal for those who love attention-grabbing styles.
Burst Fade with Curly Hair
Works perfectly to define curls while keeping the sides clean.
Burst Fade with Beard
Connects your fade with your facial hair for a seamless look.
Burst Fade for Straight Hair
Gives structure and volume to otherwise flat hair.
Maintenance Tips for Your Burst Fade
How Often to Get a Touch-Up
Every 2–3 weeks keeps your fade fresh and sharp.
Daily Hair Care Routine
Moisturize, brush regularly, and avoid sleeping on damp hair.
Products That Keep the Fade Fresh
Use leave-in conditioners and lightweight styling creams.
Conclusion
A burst fade is more than just a haircut—it’s a statement. Whether you’re doing it yourself or sitting in a barber’s chair, knowing the right fade guards makes all the difference. Remember, it’s all about precision, patience, and the right tools. Once you master it, you’ll never go back to basic fades again.
FAQs
What guard size is best to start a burst fade?
Start with a #0 or #1 guard around the ear to set your base.
Can I do a burst fade without guards?
Technically yes, but it’s risky. Guards ensure even length and prevent overcutting.
How long does a burst fade last?
Typically 2–3 weeks before it needs a touch-up.
Are burst fades suitable for all hair types?
Absolutely! Whether your hair is curly, straight, or wavy—it works great.
What’s the easiest burst fade for beginners?
Try a low burst fade with guard progression from #1 to #4—it’s simple and stylish.